Why Cape Cod Families Are Hiring Professional Photo Organizers
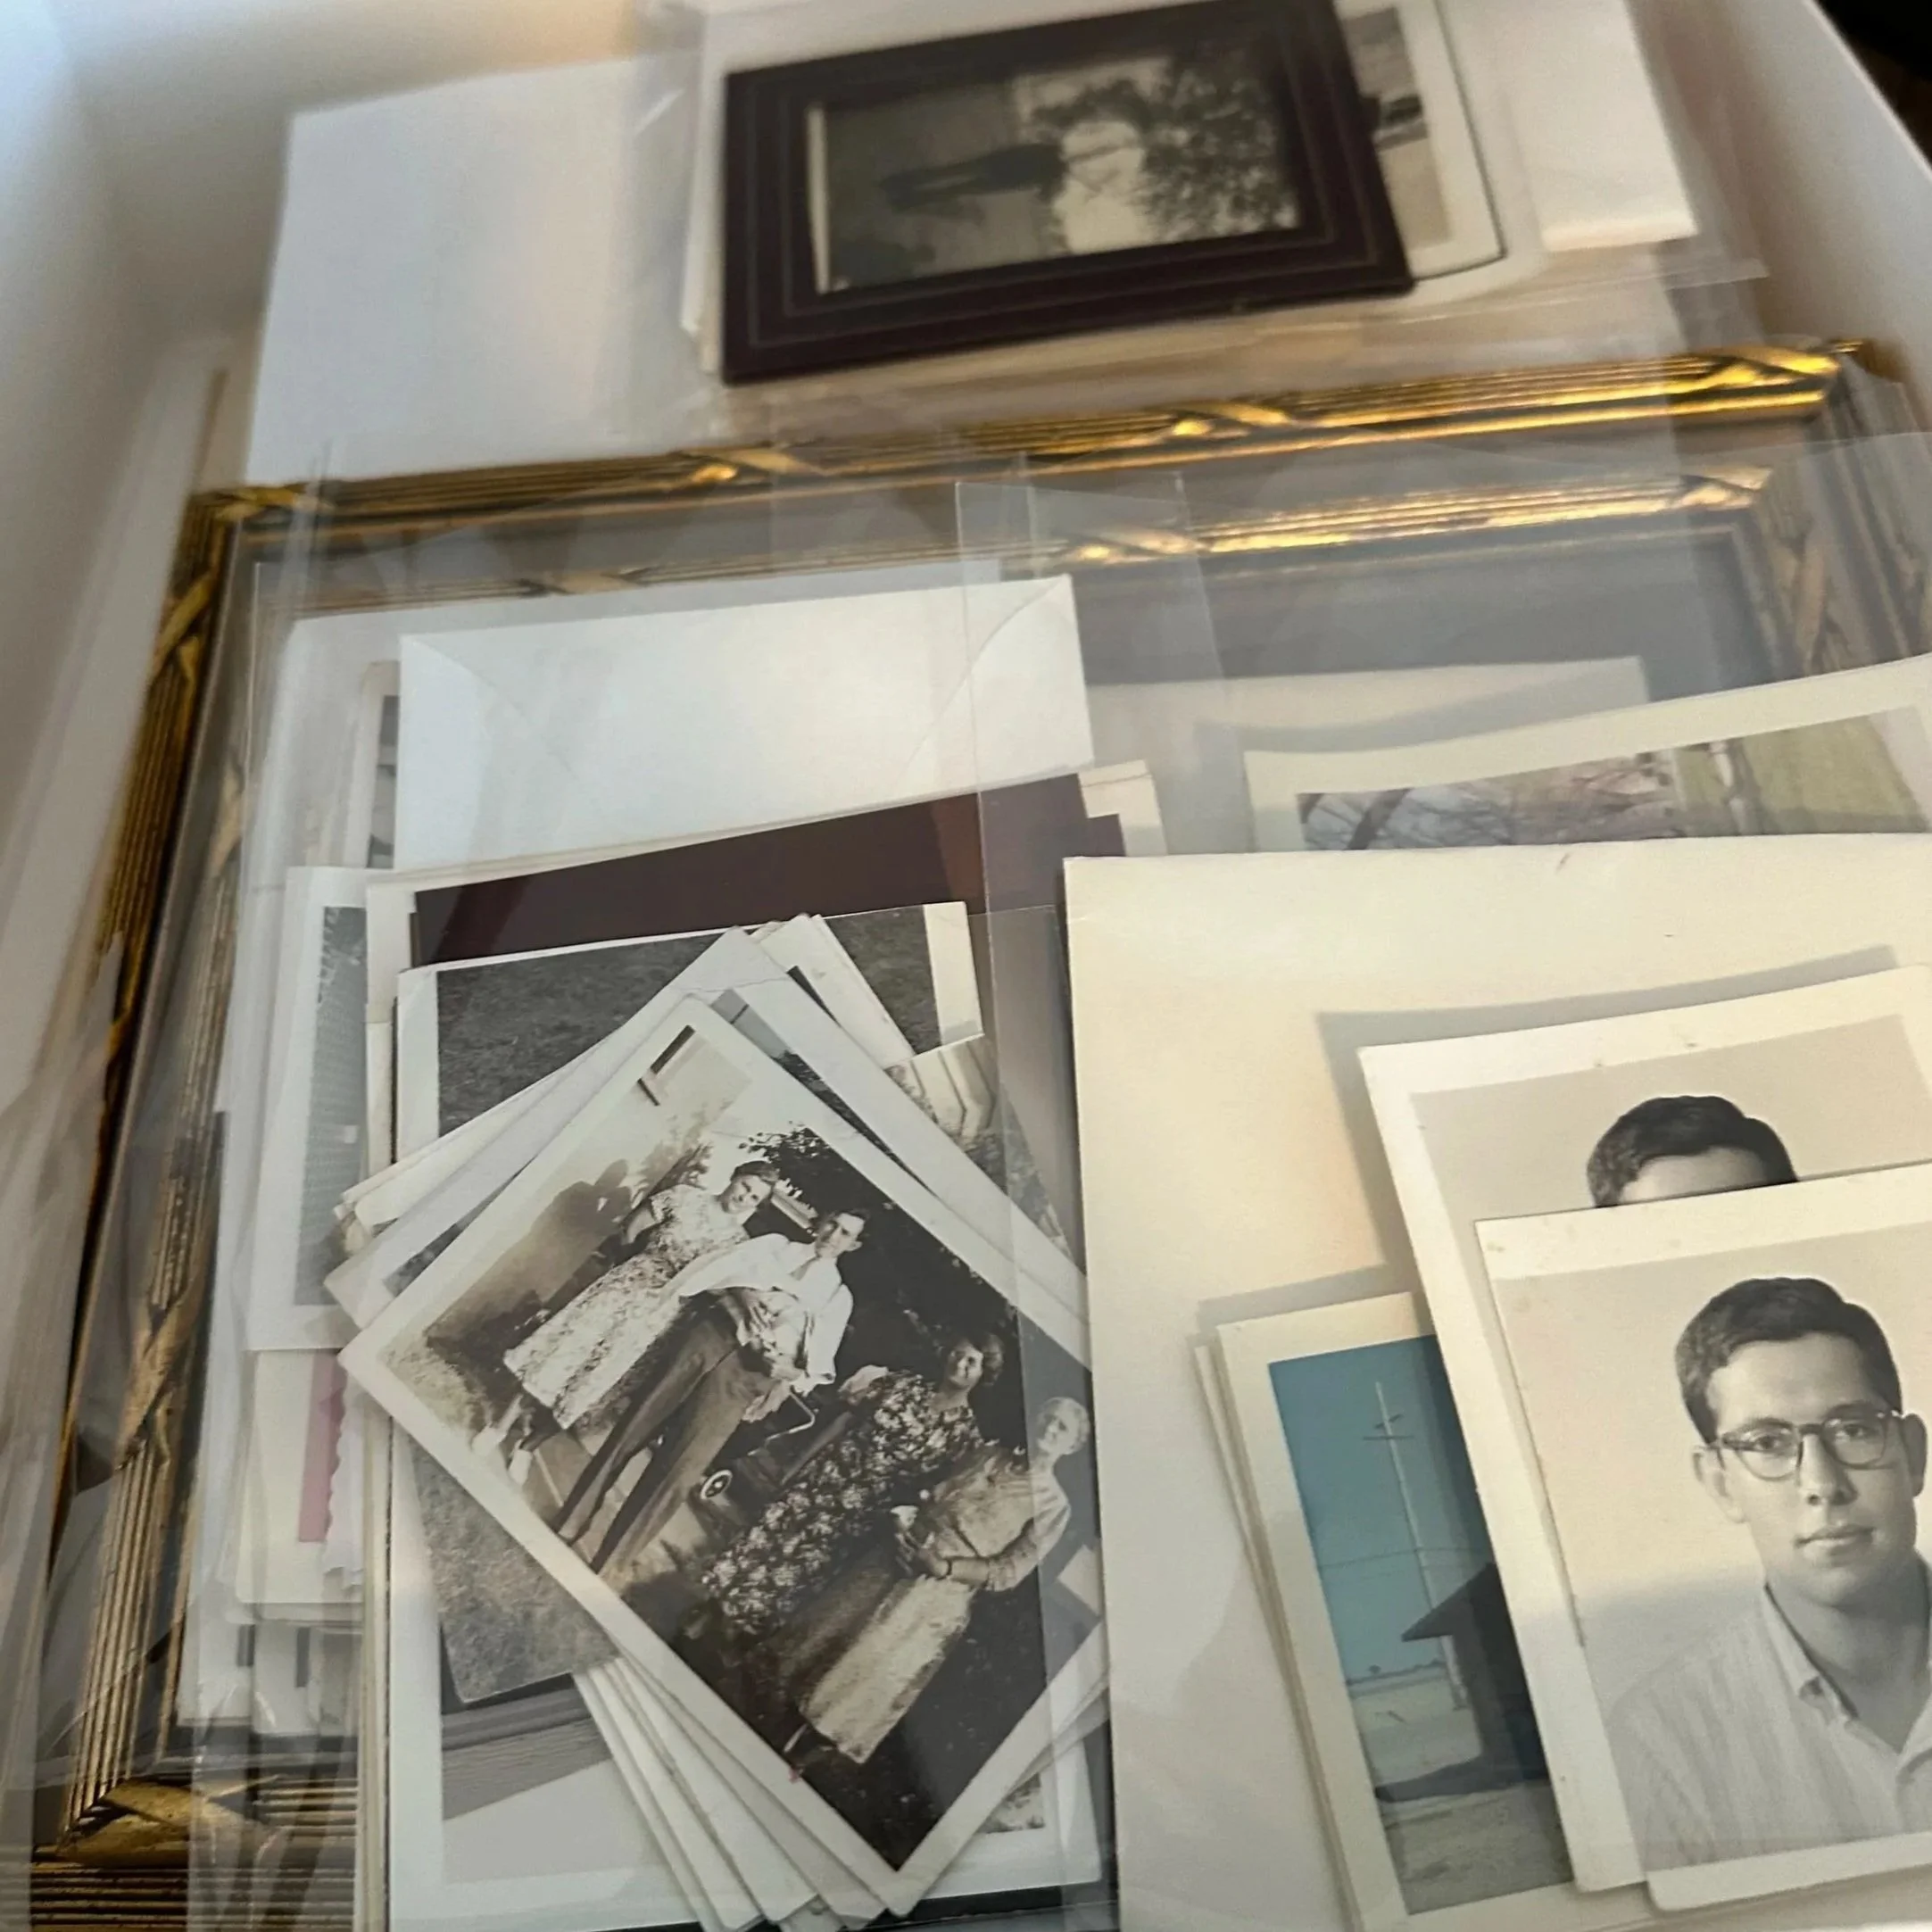
Most people don't think about hiring someone to manage their photos — until they're elbow-deep in a bin of unsorted pictures looking for one specific moment that seems to have vanished. Sound familiar?
As a professional photo organizer and digitizing specialist serving Cape Cod and the surrounding area, I hear this all the time. The good news? It doesn't have to be that way. Here are the top reasons why more and more Cape Cod families are turning to a professional to help them preserve, organize, and make sense of their photo collections.

Cape Cod Photo Organization Services
1. Protect Your Memories From Fire, Flooding, and Storms
Living on Cape Cod, we know better than most how quickly weather can turn. We protect our passports, birth certificates, and insurance documents — but what about our family photos? In the aftermath of a flood, nor'easter, or hurricane, most people say they'd mourn the loss of their irreplaceable memories far more than any electronic device or piece of furniture.
When your photos and videos are professionally digitized, you'll always have a backup, no matter what happens to the physical originals. Digital copies can be stored in the cloud, on an external hard drive, or shared with family — so your memories are protected and accessible wherever you are.
2. Declutter Your Home Without Losing What Matters
Many Cape Cod families — especially Baby Boomers and early Gen Xers thinking about downsizing — are facing the same challenge: what do you do with decades' worth of photos? Nobody wants to leave their kids a garage full of unlabeled boxes — but nobody wants to throw away family memories, either.
That's where I come in. I help you decide what to keep, what to scan, and what to let go of. Many of my clients have handed me 10 or more bins of photos, which I then declutter, digitize, and consolidate into a small number of clearly labeled archival boxes — often no bigger than a shoebox. Your family keeps only the most meaningful physical photos, plus a complete digital archive they can access anytime.
3. Find Any Photo in Minutes — Not Hours
How much time have you spent digging through shoeboxes and photo albums looking for one specific picture? Whether you're pulling together a graduation party display, creating a memorial board, or just trying to find that one Christmas photo from 1987, a well-organized collection makes it easy.
Graduation season is a perfect example. Every year, Cape Cod families scramble to find the right baby photo to display at their grad's party — and every year, it turns into a hours-long search through boxes in the attic. When your photos are clearly organized and labeled, moments like these become simple and even enjoyable.
4. Create Beautiful Photo Books, Memory Displays, and Tribute Boards
Once your photos are organized and digitized, the possibilities open up. Want to create a custom photo book for a milestone anniversary? A graduation collage? A memorial tribute board for a loved one's service?
I can help with all of it. I carefully digitize your photos and work with professional-grade printing services to produce finished pieces you'll be proud to display and share — a perfect way to celebrate the Cape Cod memories that matter most.
Ready to Get Your Photos Under Control?
Summer is the perfect time to start the conversation about your photo collection — when the whole family is together on the Cape, you can reminisce, decide what matters most, and take the first step toward preserving those memories for generations to come.
Whether you have a single shoebox or an entire storage unit full of photos, I'm here to help Cape Cod families preserve their story — in a way that's organized, protected, and built to last.
Proudly serving Dennis and communities across Cape Cod.
[Contact me today to learn more about my photo organizing and digitizing services on Cape Cod.]
Spring Is Coming —And So Is My Art Shop!
Spring Is Coming —And So Is My Art Shop!
Happy almost-spring, fellow New Englanders! After what feels like the longest winter ever, I know I'm not alone in counting down the days until warmer weather and beautiful spring flowers arrive. This time of year, I always buy flowers (especially tulips) from local vendors and shops and photograph them in my home. I share my favorites on social media, but lately something amazing has been happening; people have been asking if they can buy these photos! Well, I have great news for you: now you can.
What's Available
I'm currently building out my art photo portfolio, but I have some pieces available. These are some of my personal favorites from 2025–2026: soothing floral shots, glowing sunsets, and peaceful ocean views that I can't wait to share with you.
I've set up pricing for several products, and online ordering will be going live soon. But here's the thing: if you fall in love with something right now and can't wait, I'm happy to work with you directly! Just reach out, and I'll send you pricing and details.
Product options include:
Framed prints
Metal prints
Canvas prints
Notecards
Check Out the Gallery
Ready to see what's available? Head over to my gallery here: https://client.donnadesimone.com/scenic/
All products are available for local pickup or shipping—whatever works best for you. Whether you're looking to brighten up your own space or gift something special to someone you care about, I'd love to help!
Questions? Feel free to reach out anytime!
Donna

Organizing Your Photos - Where to Begin?
Photo Organizing: Where to Start When It Feels Overwhelming
Have you been wanting to organize your printed photos but don’t know where to begin? Whether you're downsizing, preserving family memories, or just trying to declutter, organizing your photo collection doesn’t have to be an intimidating task. Here’s a simple, step-by-step guide to get you started.
1. Start Small
Don’t try to tackle every photo you own all at once. Begin with one box, bin, or album. That’s it! Focusing on a manageable amount keeps the process from becoming overwhelming and helps build momentum.
2. Sort Into Piles
As you go through your photos, create three piles:
Keep
Discard
Give Away
Be honest with yourself. It’s okay to let go of:
Blurry or too-dark images
Scenic photos that no longer hold meaning
Duplicate prints — consider giving extras to family members or simply discarding them
Remember, every photo doesn’t have to be saved to preserve the memory.
3. Choose an Organization Method
Once you've sorted your photos, decide how you want to organize them. Two common and effective methods are:
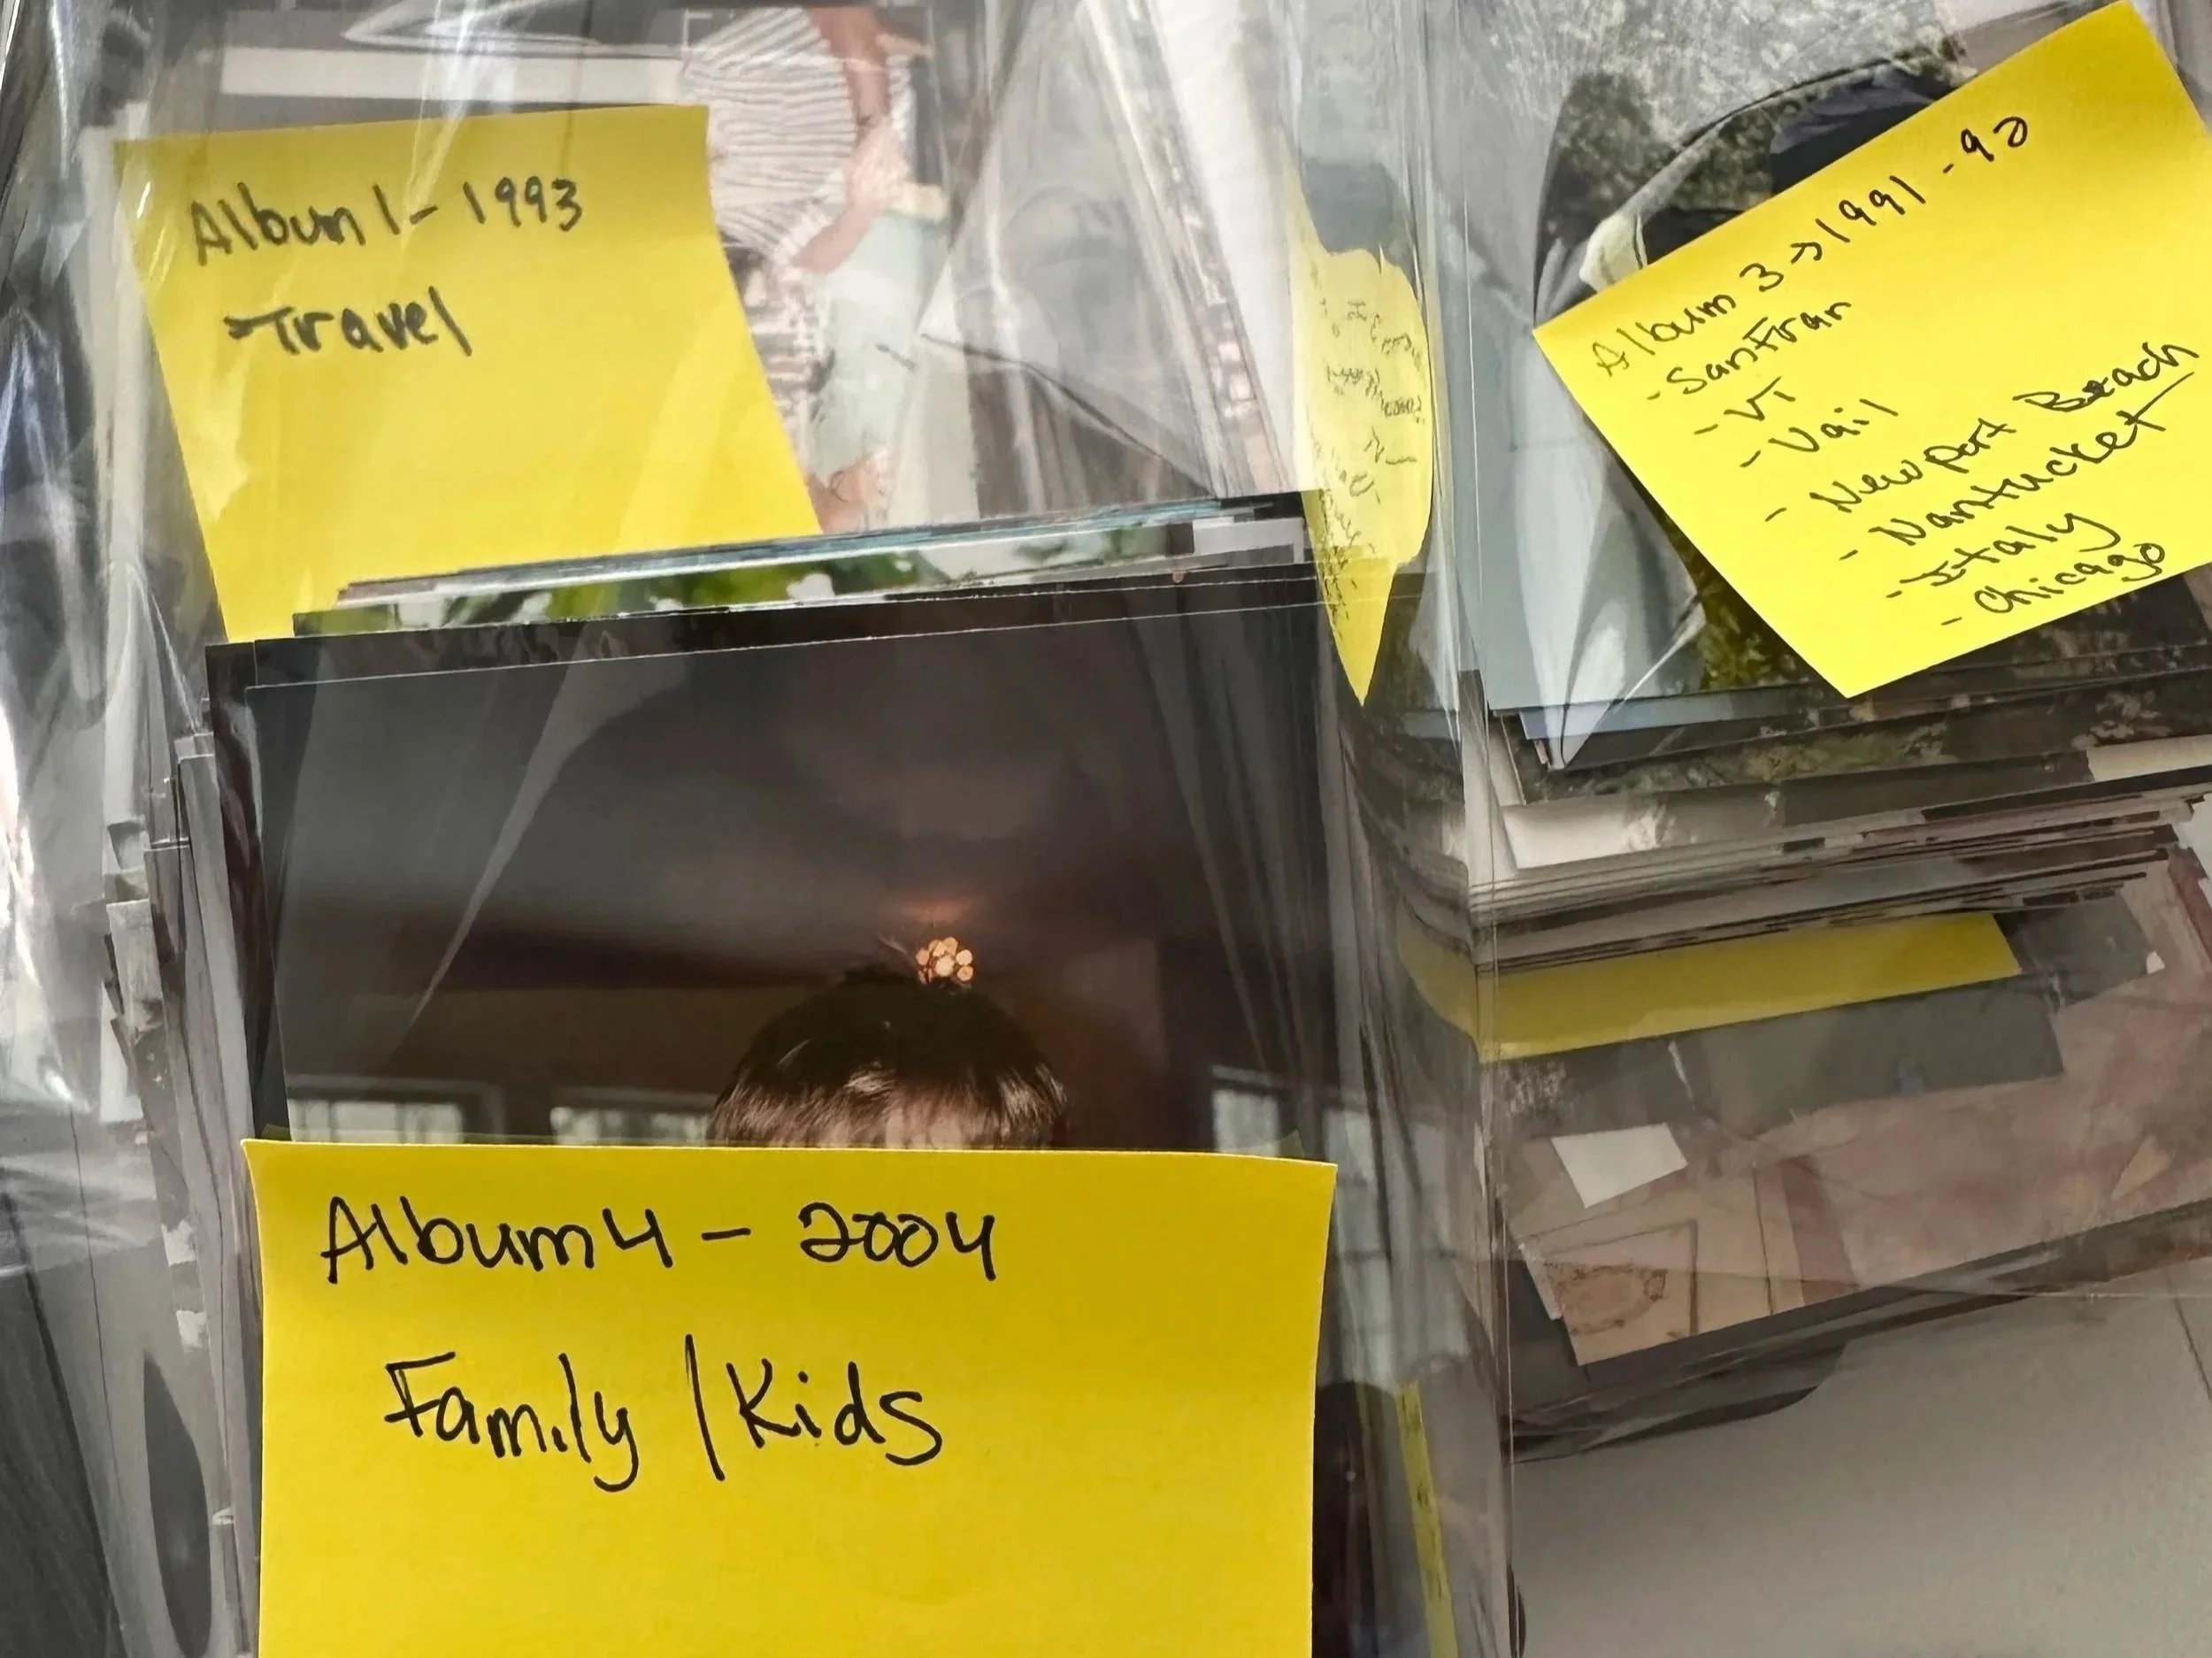
By Person or Family: For example, I started my personal organization into groups like “my family,” “my husband's family,” and “friends.” Use index cards or sticky notes to label and separate each section.
Benefits: Easy to find photos of a specific person for birthdays, memorials, or family gatherings.
By Date: Organize photos by year or decade to create a timeline.
Benefits: Great for building a chronological story of your life or helping with genealogy projects.
There’s no right or wrong way — go with what makes the most sense for you and your family.
4. Work in Small Chunks
You don’t need a whole weekend to get started. Allow yourself just 30 minutes at a time. You can even sort through photos while watching TV at night. The key is consistency — a little bit at a time adds up quickly.
What’s Next? Digitizing Your Memories
Once your photos are sorted, the next step is preserving them through digitizing — a crucial way to protect, share, and enjoy your memories for years to come.
Curious how to digitize your photos the right way — without the stress of doing it yourself?
👉 Come back for my next blog post, where I’ll walk you through the process and show you how I can help make it simple and stress-free.
Have questions or need help getting started now? I offer personalized photo organizing services and would love to guide you through the process. Reach out anytime — I’m here to help!
Photo Organizing: Where to Start When It Feels Overwhelming
Have you been wanting to organize your printed photos but don’t know where to begin? Whether you're downsizing, preserving family memories, or just trying to declutter, organizing your photo collection doesn’t have to be an intimidating task. Here’s a simple, step-by-step guide to get you started.
1. Start Small
Don’t try to tackle every photo you own all at once. Begin with one box, bin, or album. That’s it! Focusing on a manageable amount keeps the process from becoming overwhelming and helps build momentum.
2. Sort Into Piles
As you go through your photos, create three piles:
Keep
Discard
Give Away
Be honest with yourself. It’s okay to let go of:
Images that are blurry or too dark
Scenic photos that no longer hold meaning
Duplicate prints — consider giving extras to family members or simply discarding them
Remember, every photo doesn’t have to be saved to preserve the memory.
3. Choose an Organization Method
Once you've sorted your photos, decide how you want to organize them. Two common and effective methods are:
By Person or Family: For example, I organized my collection into groups like “my family,” “my husband's family,” and “friends.” Use index cards or sticky notes to label and separate each section.
Benefits: Easy to find photos of a specific person for birthdays, memorials, or family gatherings.
By Date: Organize photos by year or decade to create a timeline.
Benefits: Great for building a chronological story of your life or helping with genealogy projects.
There’s no right or wrong way — go with what makes the most sense for you and your family.

4. Work in Small Chunks
You don’t need a whole weekend to get started. Allow yourself just 30 minutes at a time. You can even sort through photos while watching TV at night. The key is consistency — a little bit at a time adds up quickly.
What’s Next? Digitizing Your Memories
Once your photos are sorted, the next step is preserving them through digitizing — a crucial way to protect, share, and enjoy your memories for years to come.
Curious how to digitize your photos the right way — without the stress of doing it yourself?
👉 Come back for my next blog post, where I’ll walk you through the process and show you how I can help make it simple and stress-free.
Have questions or need help getting started now? I offer personalized photo organizing services and would love to guide you through the process. Reach out anytime — I’m here to help!